
I have been planning an internal incident response training at work, and was considering how to create environments for participants to work on. At first I was planning to create some VM’s, a virtual network, etc., and export a template for easy deployment by each participant. The downside of this, is complexity. Not everyone is equally skilled with cloud tech, and it can also be hard to monitor how the participants are doing.
While planning this I came across Azure Labs. This is a setup to create temporary environments for training, replicated to multiple users. Looks perfect! I started by creating a lab, only to discover that it did need a bit more of config to get it working.
The scenario is this: a Windows machine works as an engineering workstation in a network. A laptop in the office network is compromised. RDP from the office network to the OT network is allowed, and the attacker runs an nmap scan for host discovery after compromising the office host, and then uses a brute-force attack to get onto the engineering workstation. On that machine the attacker establishes persistence, and edits some important config files. The participants will work as responders, and will perform analysis on the compromised engineering workstation. They should not have access to the office computer.
The first lab I created by just clicking through the obvious things, with default settings. Then I got a Windows 11 VM, but it had no internal network connectivity. After searching for a way to add a subnet to the lab, I found this article: Create lab with advanced networking. The summary notes are as follows:
- Create a new resource group
- Create a Vnet + subnet
- Create a network security group
- Associate the subnet with Azure labs
- Create a new lab plan and choose “advanced networking”
- Ready to create new labs!
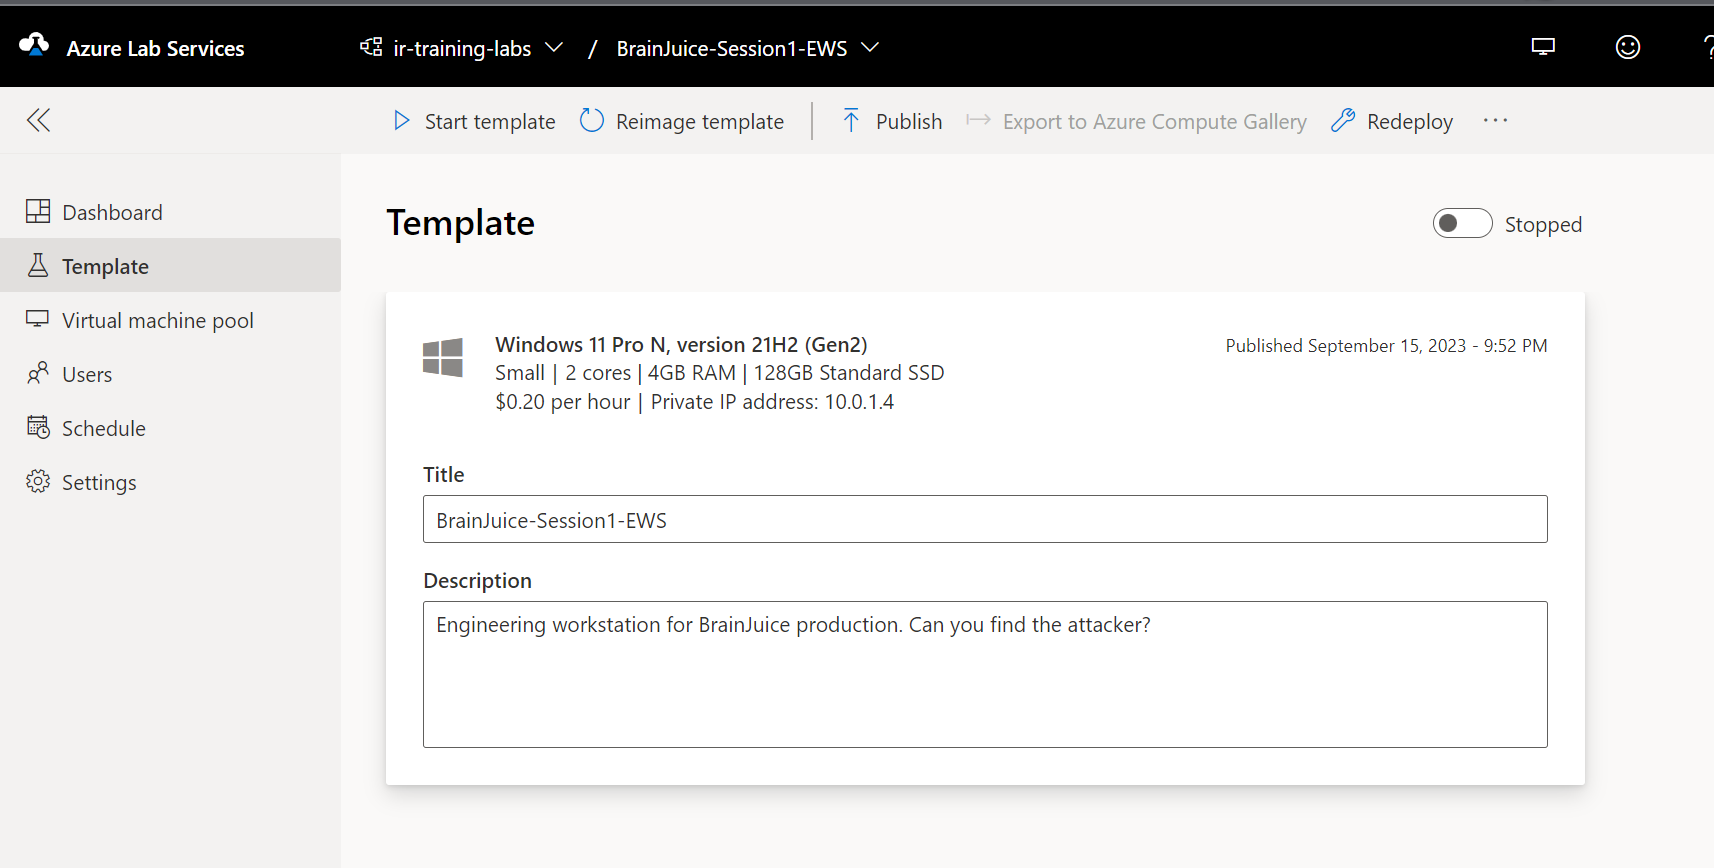
With all this in place we could create a new lab. We need to choose to customize the VM to prepare the forensic evidence. We can run it as a template, and install things on it, do things to it, before we publish it to use in a training. This way we will have disk, memory and log artifacts ready to go.
If we want ping to work (and we do), we also need to change the Windows firewall settings on the VM, because Azure VM’s block pings by default. Blog post with details here. Tl;dr:
# For IPv4
netsh advfirewall firewall add rule name="ICMP Allow incoming V4 echo request" protocol="icmpv4:8,any" dir=in action=allow

netsh advfirewall firewall add rule name="ICMP Allow outgoing V4 echo request" protocol="icmpv4:8,any" dir=out action=allow
If you want to allow ping to/from the Internet, you will also have to allow that in the network security group. I don’t need that for my lab, so I didn’t do that.
We also needed an attacker. For this we created a new VM in Azure the normal way, in the same resource group used for the lab, and associating it to the same Vnet. From this attacker, we can run nmap, brute-force attacks, etc.
Then our lab is ready to publish, and we can just wait for our training event to start. Will it be a success? Time will show!
