I have been planning an internal incident response training at work, and was considering how to create environments for participants to work on. At first I was planning to create some VM’s, a virtual network, etc., and export a template for easy deployment by each participant. The downside of this, is complexity. Not everyone is equally skilled with cloud tech, and it can also be hard to monitor how the participants are doing.
While planning this I came across Azure Labs. This is a setup to create temporary environments for training, replicated to multiple users. Looks perfect! I started by creating a lab, only to discover that it did need a bit more of config to get it working.
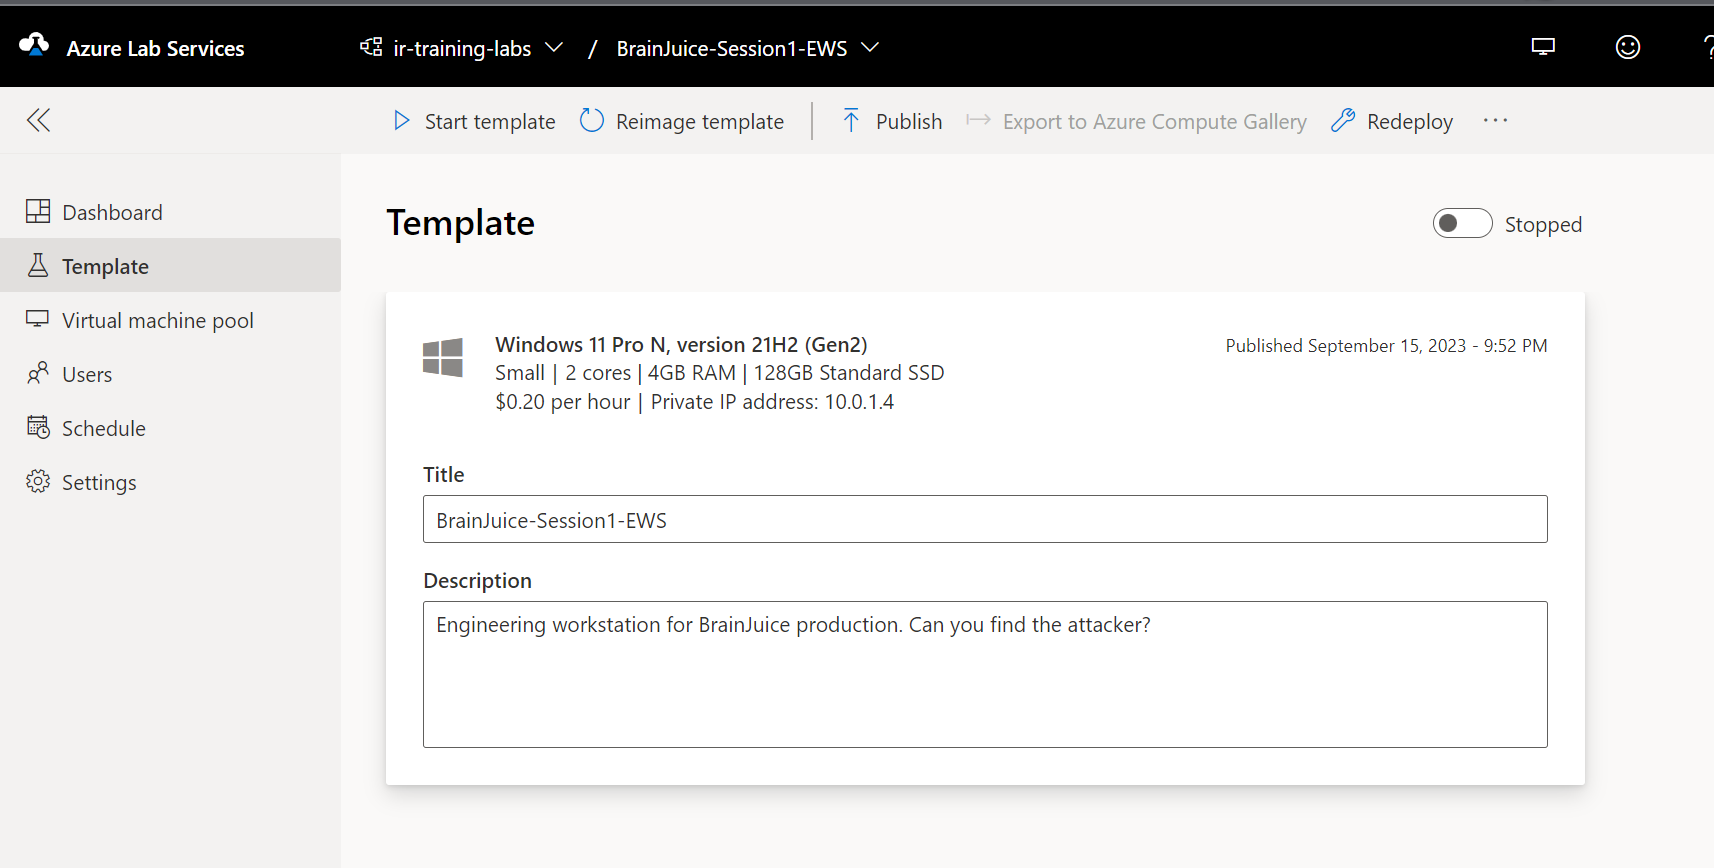
The scenario is this: a Windows machine works as an engineering workstation in a network. A laptop in the office network is compromised. RDP from the office network to the OT network is allowed, and the attacker runs an nmap scan for host discovery after compromising the office host, and then uses a brute-force attack to get onto the engineering workstation. On that machine the attacker establishes persistence, and edits some important config files. The participants will work as responders, and will perform analysis on the compromised engineering workstation. They should not have access to the office computer.
The first lab I created by just clicking through the obvious things, with default settings. Then I got a Windows 11 VM, but it had no internal network connectivity. After searching for a way to add a subnet to the lab, I found this article: Create lab with advanced networking. The summary notes are as follows:
Create a new resource group
Create a Vnet + subnet
Create a network security group
Associate the subnet with Azure labs
Create a new lab plan and choose “advanced networking”
Ready to create new labs!
With all this in place we could create a new lab. We need to choose to customize the VM to prepare the forensic evidence. We can run it as a template, and install things on it, do things to it, before we publish it to use in a training. This way we will have disk, memory and log artifacts ready to go.
If we want ping to work (and we do), we also need to change the Windows firewall settings on the VM, because Azure VM’s block pings by default. Blog post with details here. Tl;dr:
If you want to allow ping to/from the Internet, you will also have to allow that in the network security group. I don’t need that for my lab, so I didn’t do that.
We also needed an attacker. For this we created a new VM in Azure the normal way, in the same resource group used for the lab, and associating it to the same Vnet. From this attacker, we can run nmap, brute-force attacks, etc.
Then our lab is ready to publish, and we can just wait for our training event to start. Will it be a success? Time will show!
When attackers target our systems, they leave traces. The first place to look is really the logs. Hopefully the most important logs are being collected and sent to a SIEM (security incident and event management) system, but in any case, we need to know how to search logs to find traces of malicious activity. Let’s consider three very common attack scenarios:
• Brute-force attack on exposed remote access port (SSH or RDP) • Establishing persistence through a cron job or a scheduled task • Adding accounts or credentials to maintain persistence
Attackers leave footprints from their actions. The primary tool for figuring out what happened on a system, is log analysis.
Brute force
Brute-force attack: an attacker may try to gain access by guessing a password. This will be visible in logs through a number of failed logon attempts, often from the same ip address. If your system is exposed to the Internet, this is constantly ongoing. The attackers are not human operators but botnets scanning the entire Internet, hoping to gain access. An effective way of avoiding this is to reduce the attack surface and not expose RDP or SSH directly on the internet.
For Windows, failed logon attempts will generate event log entries with Event ID 4625. What you should be looking for is a number of failed attempts (ID 4625), followed by a successful attempt from the same ip address. Successful logins have Event ID 4624. You will need administrator privileges to read the Windows logs. You can use the Event Viewer application on Windows to do this, but if you want to create a more automated detection, you can use a PowerShell script to check the logs. You still need that administrator access though.
You can also use Get-EventLog if you are on PowerShell 5, but that commandlet is not longer present in Powershell 7.
For attacks on SSH on Linux, you will find entries in the authpriv file. But the easiest way to spot malicious logon attempts is to use the command “lastb” that will show you the last failed logon attempts. This command requires sudo privileges. If you correlate a series of failed attempts reported by “lastb” with a successful attempt found in “authpriv” from the same ip address, you probably have a breach.
lastb: The last 10 failed login attempts on a cloud hosted VM exposing SSH on port 22 to the Internet.
Persistence
Let’s move on to persistence through scheduled tasks or cron jobs
The Event ID you are looking for on Windows is 4698. This means a scheduled task was created. There are many reasons to create scheduled tasks; it can be related to software updates, cleanup operations, synchronization tasks and many other things. It is also a popular way to establish persistence for an attacker. If you have managed to drop a script or a binary file on a target machine, and set a scheduled task to execute this on a fixed interval, for example every 5 minutes, you have an easy way to make malware reach out to a command and control server on the Internet.
There are two types of scheduled tasks to worry about here; one is running under the user account. This task will only run when the user is logged on to the computer. If the attacker can establish a scheduled task to run with privileges, the task will run without having a user being logged on – but the computer must of course be in a running state. Because of this, it is a good idea to check the user account that created the scheduled task.
Cron jobs are logged to different files depending on the system you are on. Most systems will log cron job execution to /var/log/syslog, whereas some, such as CoreOS and Amazon Linux, will log to /var/log/cron. For a systemd based Linux distro, you can also use “journalctl -u cron” to view the cron job logs. Look for jobs executing commands or binaries you don’t know what is. Then verify what those are.
You do not get exit codes in the default cron logs, only what happens before the command in the cron job executes. Exit logs are by default logged to the mailbox of the job’s owner but this can be configured to log to a file instead. Usually seeing the standard cron logs is sufficient to discover abuse of this feature to gain persistence or run C2 communications.
Adding accounts
Finally, we should check if an attacker has added an account, a common way to establish extra persistence channels.
For Windows, the relevant Event ID is 4720. This is generated every time a user account is created, whether centrally on a domain controller, or locally on a workstation. If you do not expect user accounts to be created on the system, every Event ID like this should be investigated. The Microsoft documentation has a long list of signals to monitor for regarding this event: https://docs.microsoft.com/en-us/windows/security/threat-protection/auditing/event-4720.
On Linux, the command “adduser” can be used to add a new user. Creating a new user will create an entry in the /var/log/auth.log file. Here’s an example form adding a user called “exampleuser” on Ubuntu (running on a host called “attacker”).
Jan 29 20:14:27 attacker sudo: cyberhakon : TTY=pts/0 ; PWD=/home/cyberhakon ; USER=root ; COMMAND=/usr/sbin/useradd exampleuser Jan 29 20:14:27 attacker useradd[6211]: new group: name=exampleuser, GID=1002 Jan 29 20:14:27 attacker useradd[6211]: new user: name=exampleuser, UID=1001, GID=1002, home=/home/exampleuser, shell=/bin/sh
Changing the password for the newly created user is also visible in the log.
an 29 20:18:20 attacker sudo: cyberhakon : TTY=pts/0 ; PWD=/var/log ; USER=root ; COMMAND=/usr/bin/passwd exampleuser Jan 29 20:18:27 attacker passwd[6227]: pam_unix(passwd:chauthtok): password changed for exampleuser
Summary: we can detect a lot of common attacker behavior just by looking at the default system logs. Learning how to look for such signals is very useful for incident response and investigations. Even better is to be prepared and forward logs to a SIEM, and create alerts based on behavior that is expected from attackers, but not from regular system use. Then you can stop the attackers before much damage is done.